Download the Sketchup plugin from:
www.optimalprograms.com/cut.rbz (for a newer version of Sketchup)
www.optimalprograms.com/cut.rbs (for older versions of Sketchup)
The program works only with version 7 (or newer) of the Sketchup. If you don't have this version please download it from: here.
The web version of the Sketchup does not (currently) support plugins! You need either Sketchup Make (from 2017) or Sketchup Pro.
Read the instructions for installing Ruby Plugins (Extensions) from Sketchup manual.
In Plugins / Extensions of the Sketchup menu you should see a submenu called Cutting Optimization pro exporter
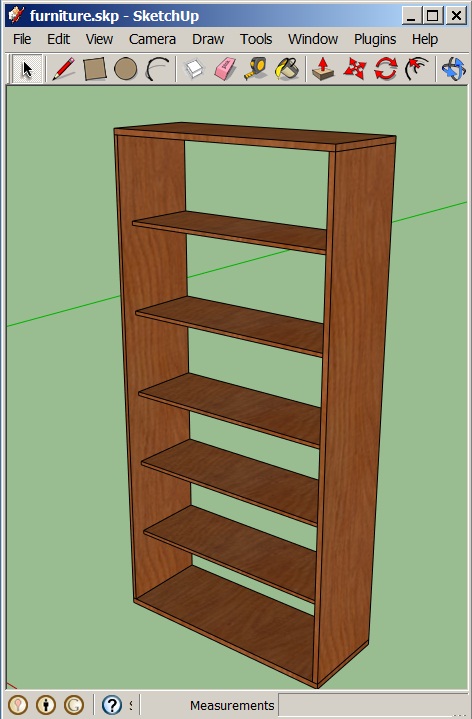
Load a model (structure) in Sketchup.
The model must meet some basic requirements:
-
- Parts must be either of type Group or ComponentInstance.
-
- We dont export faces, simpled edges, etc. For instance, the walls of a locker must be 3D components (or groups) which have Height, Width and Depth.
-
- The pieces which are NOT placed parallel with the axes of coordinates must be initially created as Component having the edges parallel with the axes of coordinates and then moved to the new position. If this requirements are not implemented, the size of the pieces will not be correctly exported.
An example of a 3D model can be found here (click for download).
Another example with 2 materials can be found here (click for download).
Select the components and groups that you want to export.
Press Plugins/Extensions | Cutting Optimization pro from Sketchup menu.
You will be asked for various info. If you want to change the language, you must restart the Skechup for seeing the strings in the new language. Press OK.
If the export was successful, then a message will appear that contains the file name and the path where the data have been saved. The file has the same name with the Sketchup file, but with xml extension (which is the native extension for Cutting Optimization pro and Simple Cutting Software X files). The folder where the file is saved is the same with the folder where the Sketchup skp file is located.
Now you can load the .xml file in Cutting Optimization pro (like a Demand/Parts). You need at least version 5.x of the Cutting Optimization pro. If you have an older version please download a newer one from here.
Any version of Simple Cutting Software X should be able to load the xml files.